How to Cure Oily Scalp and Hair Loss with Head Massage Therapy
If your scalp turns greasy within hours of washing and your hairbrush is full of shed strands every morning, you are not alone — and you are not powerless. Oily scalp and hair loss frequently share the same root cause: a congested, inflamed follicular environment. The good news is that head massage therapy, practised correctly and consistently, can address both concerns simultaneously — without a single chemical treatment.
- Scalp that feels oily or itchy just hours after shampooing
- Noticeable hair thinning at the crown, temples, or parting
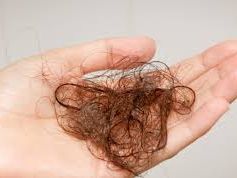
- Excess hair shedding on the pillow, in the shower drain, or on clothing
- Scalp tightness, tenderness, or a persistent dull ache around the hairline
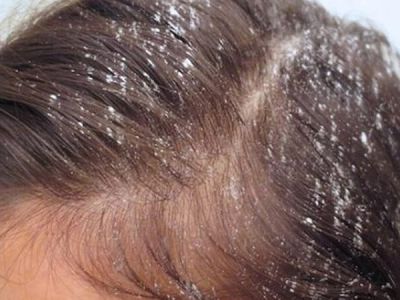
- Flakes that are yellowish or waxy — a hallmark of sebum-related dandruff
- Flat, limp hair that has lost volume despite using volumising products
These symptoms are deeply connected. When excess sebum accumulates in the follicular canal, it mixes with dead skin cells and environmental pollutants to form a hardened plug. That plug physically compresses the hair bulb, restricts nutrient delivery, and creates a low-oxygen environment in which the follicle is forced into early rest — triggering hair loss.1 Targeted scalp massage breaks this cycle from the inside out.
A 2016 clinical study published in ePlasty (Koyama et al.) found that just four minutes of daily scalp massage over 24 weeks produced statistically significant increases in hair shaft thickness and measurably altered the gene expression profile of stretched dermal papilla cells — the cells that govern follicular growth and cycling.2 A separate 2019 survey of 340 participants who adopted a daily scalp massage routine reported that 68.9% experienced stabilisation or improvement in hair loss.3
The 7-Step Head Massage Protocol for Oily Scalp and Hair Loss
Follow these steps in sequence for best results. Perform the full protocol three to four times per week on non-wash days, and once immediately before shampooing on wash days.
Advertisement · Scroll to continue
Before touching your scalp, take 60 seconds to observe it — ideally under bright natural light or using the torch on your phone. Part the hair in three sections: crown, left temporal, and right temporal. Note any areas that appear shinier (higher sebum), flakier, or where you can see the scalp more clearly through thinning hair. Tracking your starting point matters — it allows you to measure real improvement over weeks, not just guess.
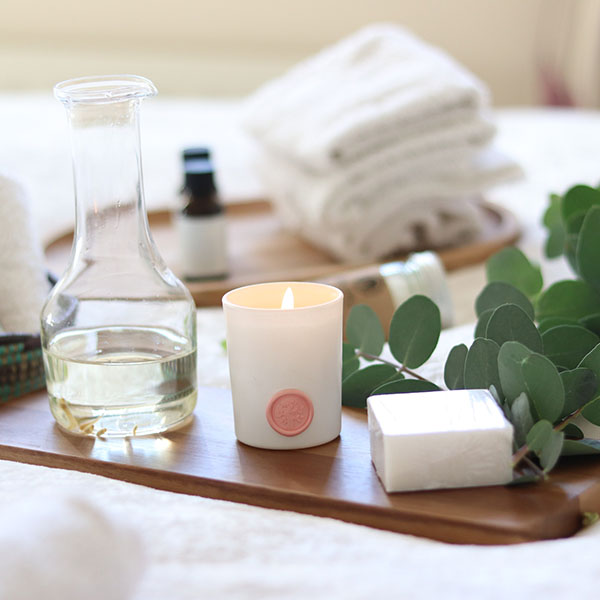
Sit in an upright chair or cross-legged on a firm surface. Wash your hands thoroughly. For an oily scalp, no oil or product is needed before massage — dry massage is more effective at mobilising excess sebum and avoiding further pore congestion. For a dry or combination scalp, a tiny amount (3–4 drops) of rosemary essential oil diluted in jojoba carrier oil may be worked in with fingertips before beginning.
Rosemary oil for hair loss: A 2015 randomised controlled trial published in SKINmed found rosemary oil to be as effective as 2% minoxidil in promoting hair growth after six months, with less scalp itching as a side effect.4 Use only 2–3 drops diluted 1:10 in jojoba oil on oily scalps.
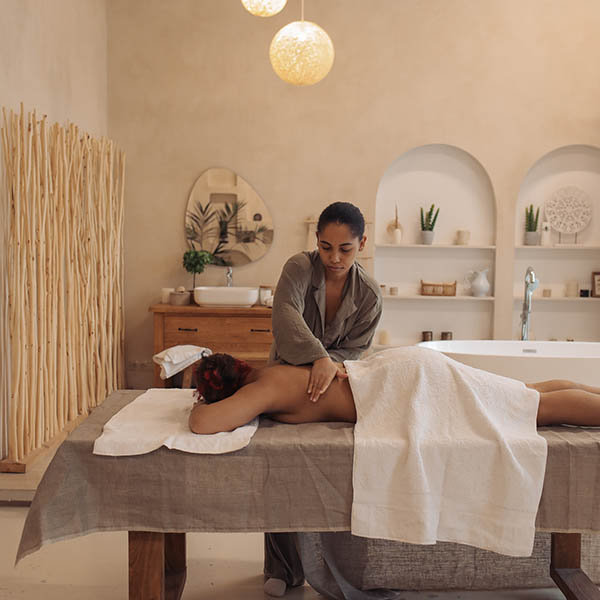
Effleurage is a long, gliding stroke used at the opening of every professional Japanese head spa session. It signals the nervous system to shift from sympathetic (fight-or-flight) to parasympathetic (rest-and-restore) mode — a prerequisite for effective cortisol reduction and follicular relaxation.5
- Place all ten fingertips at the centre of your forehead hairline. Using gentle but firm pressure (enough to slightly move the scalp skin, not just glide over the hair), draw both hands back toward the crown in slow, continuous strokes.
- Continue the stroke over the crown and down toward the nape of the neck, finishing with a light squeeze at the base of the skull (occiput). Repeat this full stroke six to eight times.
- Shift to the sides: starting above the ears, glide both hands upward toward the crown and then back down to the nape. Repeat four times per side.
- Finish effleurage by placing both palms flat over the crown and applying gentle sustained downward pressure for 10 seconds — this "sets" the scalp tissue before deeper work begins.
Petrissage is the primary technique for addressing both oily scalp and hair loss. This kneading action physically mobilises stagnant sebum trapped in follicular openings, stimulates blood flow in the dermal capillary network, and mechanically stretches the dermal papilla cells that control hair growth signalling.2
- Fingertip circles: Using the pads (not the tips or nails) of all eight fingers, plant them on the scalp and rotate in slow, firm circles — moving the scalp against the skull, not the fingers against the scalp. Each circle should be deliberate: two seconds clockwise, two seconds anticlockwise.
- Zone sequence: Work in four systematic zones — (1) front hairline to crown, (2) crown, (3) left and right temporal/parietal regions, (4) occiput to nape. Spend approximately 60–75 seconds per zone. This ensures full scalp coverage without missing the sebum-heavy temporal zones.
- Pressure calibration: Pressure should rate 6 out of 10 — firm enough to feel the scalp move, never painful. On particularly oily zones (typically the crown and frontal scalp), increase to 7 out of 10 and slow the circle speed to increase mechanical contact time with clogged follicles.
- Hair-thinning zones: In areas of visible thinning, maintain medium pressure only. Avoid aggressive pulling or stretching of already weakened follicles. The goal is stimulation, not trauma.
Never use fingernails, a stiff-bristled brush, or excessive pressure over inflamed, broken, or sunburnt scalp skin. Micro-abrasions create entry points for bacterial infection and can worsen scalp inflammation.
Traditional Japanese head therapy draws on tsubo (acupressure point) theory to stimulate specific points associated with scalp blood flow and stress regulation. While evidence for meridian-specific mechanisms remains emerging, the clinical effect of sustained pressure-point stimulation on scalp microcirculation and cortisol reduction is well documented.5
- GV20 (Baihui): Located at the crown — draw a line from the tip of each ear to the top of the head; where they intersect is GV20. Apply sustained downward pressure with your middle finger for 30 seconds. This point is associated in tsubo theory with scalp vitality and mental clarity.
- GB20 (Fengchi): The two soft hollows at the base of the skull, either side of the midline, where the neck muscles meet the occiput. Apply firm circular pressure with both thumbs for 30 seconds. This point helps relieve the scalp muscle tension that can restrict blood flow to the vertex.
- ST8 (Touwei): Located at the corner of the forehead hairline, approximately 4.5cm from the midline. Apply gentle pulsing pressure for 20 seconds per side. Known in Japanese scalp massage for addressing frontal hair thinning and temporal congestion.
- Temple circles: Finish acupressure with slow, firm circles on the temples using the heels of both hands simultaneously for 30 seconds. This activates the temporal branch of the superficial temporal artery — the main blood supply to the frontal and temporal scalp.
Chronic scalp inflammation — a key driver of both oily scalp and hair loss — is partly maintained by impaired lymphatic clearance of cytokines and cellular debris. Gentle lymphatic drainage strokes, performed in the correct direction, assist the superficial lymphatic vessels in the scalp and neck to move inflammatory by-products toward the lymph nodes at the base of the neck.
Advertisement · Scroll to continue
- Using the flat of all four fingers on each hand, apply feather-light strokes from the crown downward toward the nape, using only the weight of your fingers — no pressing. Repeat eight times in a continuous, slow rhythm.
- Continue the drainage stroke from the temples, behind the ears, and down the sides of the neck to the collarbone. This connects the scalp drainage pathway to the cervical lymph nodes where fluid is processed.
- Complete three slow, deep diaphragmatic breaths during this step — inhaling for four counts, exhaling for six. Diaphragmatic breathing directly drives lymphatic pump activity.
Lymphatic drainage should always flow toward the heart — scalp fluid drains toward the neck, never upward. If you have any known lymph node swelling, enlarged glands, or a recent infection, consult your GP before performing this step.
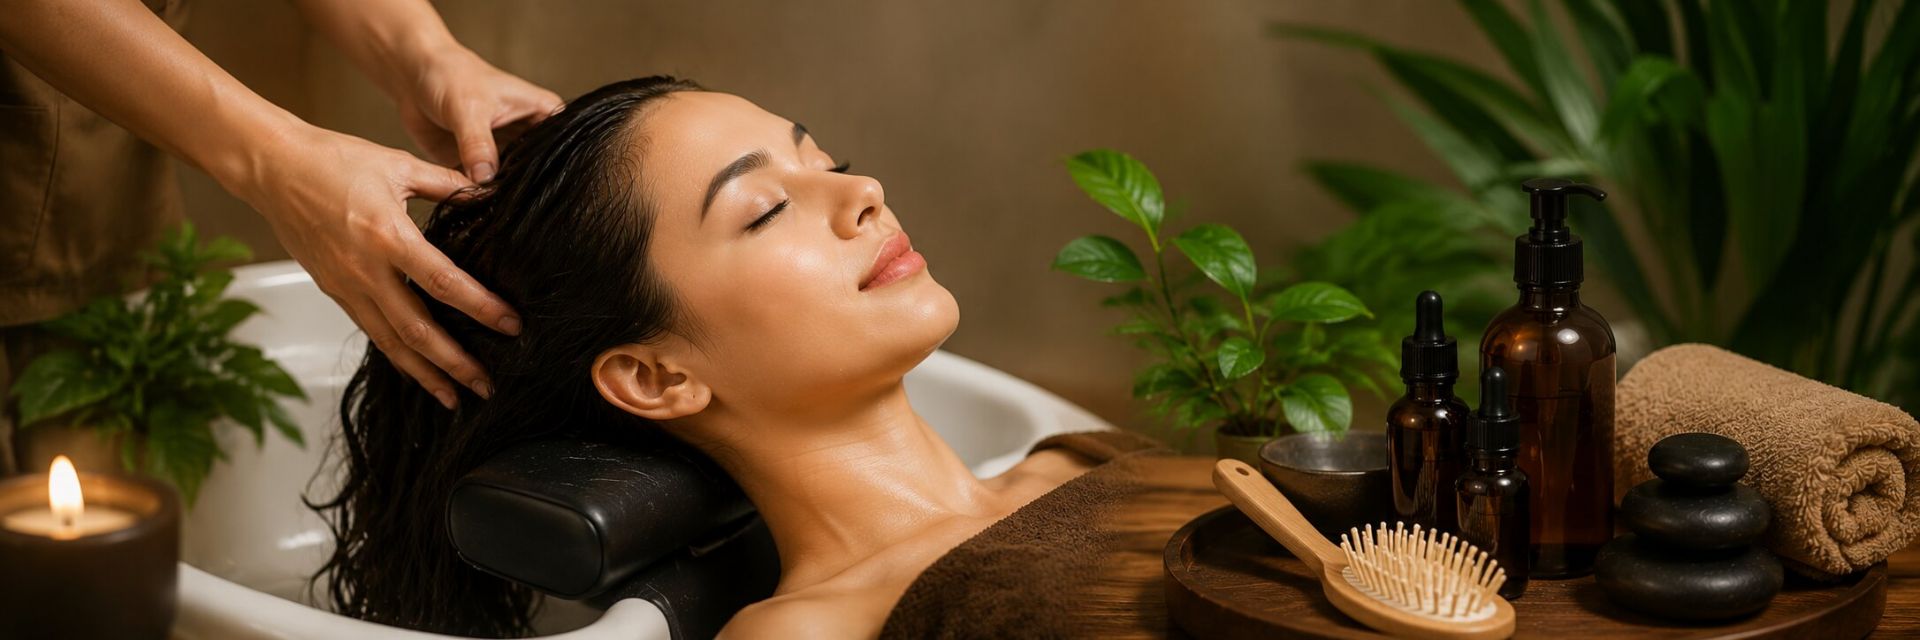
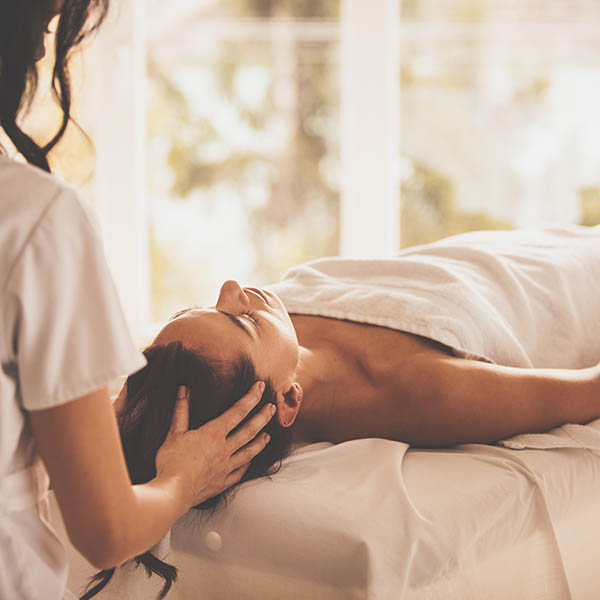
Correct scalp massage technique uses fingertip pads — never nails — in firm, deliberate circles that move the scalp skin against the skull. Image: Unsplash (illustrative).
On wash days, perform the massage immediately before shampooing. The massage has loosened congested sebum and debris from follicular openings; cleansing now captures it before it can be reabsorbed. A standard single shampoo is insufficient after massage — a double-cleanse protocol is required for genuinely oily scalps.
- First cleanse — micellar or oil-based: Apply a small amount of micellar scalp cleanser or a few drops of lightweight oil (such as squalane) to the dry scalp. Work in with fingertip massage for 60 seconds to emulsify silicones, wax, and lipid-soluble pollutants. Rinse thoroughly with lukewarm water.
- Second cleanse — clarifying or sebum-regulating shampoo: Apply a salicylic acid shampoo (0.5–1.5%) or a zinc pyrithione-based formula to damp scalp. Massage in for a full 60 seconds — the contact time of the active ingredients matters more than the mechanical scrubbing. Rinse with cool to lukewarm water.
- Final cool rinse: Finish with 20–30 seconds of the coolest water you can comfortably tolerate. Cool water constricts the sebaceous gland temporarily, helps close the cuticle, and promotes surface shine.
Avoid washing oily scalp with hot water — heat stimulates sebaceous gland activity and can trigger a rebound oil surge within hours. Lukewarm water only during shampooing.
After cleansing, the follicular openings are clear and the scalp barrier is temporarily more permeable — this is the optimal window for applying a targeted scalp serum. Apply to a damp (not soaking wet) scalp in sections, using the dropper or applicator tip to deposit the serum directly onto the scalp skin, then massage in for 30 seconds.
Select your serum based on your primary concern:
- For oily scalp: Look for zinc PCA (sebum-regulating), niacinamide (pore-refining, anti-inflammatory), and salicylic acid (exfoliating). Avoid heavy silicones, mineral oil, or lanolin, which will immediately re-clog freshly cleared follicles.
- For hair loss: Seek actives with clinical backing — redensyl (targets hair follicle stem cells), procapil (strengthens follicular anchorage), adenosine (upregulates hair growth factors), or saw palmetto extract (inhibits DHT at the follicle level without systemic side effects).
- For both concerns: Combination serums containing caffeine, niacinamide, and redensyl address both sebum regulation and follicular stimulation. These are increasingly available from Australian trichological brands and professional salon product lines.
Do not rinse the scalp serum. Leave-on application is essential — most active ingredients in scalp serums require sustained contact with follicular tissue to be effective. Avoid applying conditioner or styling products to the scalp after serum application.
Ready to Take Your Scalp Health Further?
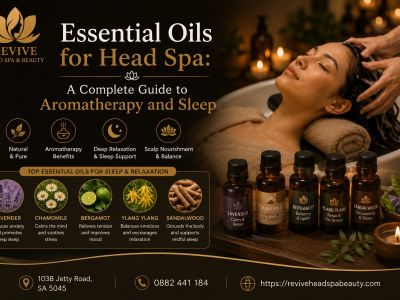
This guide covers the at-home essentials — but a professional Japanese head spa delivers diagnostic trichoscopy, clinical-grade steam therapy, and expert massage that amplifies every result you're building at home. Read the complete guide to understand the full process, the science, and what to look for in a provider.
Read the Ultimate Japanese Head Spa Guide →Frequently Asked Questions
Can head massage therapy really fix an oily scalp?
Yes — when applied with correct technique. Scalp massage mobilises stagnant sebum from follicular openings, promotes lymphatic drainage of inflammatory mediators, and — combined with a targeted double-cleanse protocol — significantly reduces scalp oiliness within four to six weeks of consistent practice. Note that oiliness may appear to worsen in the first one to two weeks as dormant sebum is released; this is a normal part of the normalisation process.
How long does it take for scalp massage to stop hair loss?
Most people notice reduced hair shedding within six to eight weeks of consistent daily massage. Research published in ePlasty (Koyama et al., 2016) documented measurable increases in hair shaft thickness after 24 weeks of four-minute daily scalp massage.2 New hair growth at the hairline or crown is typically visible from week eight to twelve onward.
Advertisement · Scroll to continue
Is it better to massage the scalp with oil or without for an oily scalp?
For genuinely oily scalps, dry massage is recommended. Applying additional oils to an already congested scalp risks worsening follicular plugging. The exception is a very small amount (2–3 drops diluted 1:10) of rosemary essential oil in a lightweight, non-comedogenic carrier such as jojoba — clinically supported for hair growth and unlikely to meaningfully worsen oiliness at this concentration.
How many times a week should I do a scalp massage for hair loss?
The Koyama et al. study used daily massage.2 For most people, three to five sessions per week is a practical and effective target. Consistency over weeks matters far more than frequency within any single week. Missed days are fine — missed weeks are not.
When should I see a professional for oily scalp and hair loss?
If at-home scalp massage therapy and product adjustments have not produced visible improvement after eight weeks, or if hair loss is sudden, patchy (possible alopecia areata), or accompanied by scalp inflammation, burning, or scarring, consult a trichologist or dermatologist promptly. A professional Japanese head spa with diagnostic trichoscopy provides a clinically informed starting point and can identify conditions requiring medical management.